
L&YR Aspinall Class 28 0-6-0 anyone?
With two Class 27s under my belt in the first quarter of 2021, I had some bits left over.
I had bought a second Bachmann Southern Class C in anticipation that the Craftsman chassis for the second Class 27 might prove problematical. As this was still in original condition (and rather nice to) I was minded to put it back on eBay. For the record, I paid £75 in March 2021 for this one, and it is a case of waiting until a reasonably priced one comes up.
During the construction of the Craftsman Class 27 TWO constructed Aspinall Craftsman tenders came up on eBay, so technically, I still had two, in that I had used one of the constructed ones (with coal rails) for the second Class 27, and I still had a built one, and the parts of the unbuilt one from the original kit. Again, I was tempted to put these on eBay. Incidentally, I paid £36 for this one.
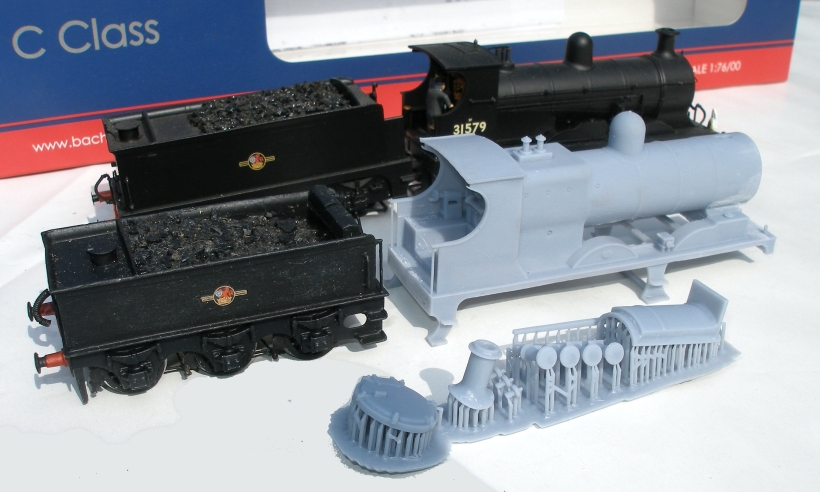
And then, as you do, I was rooting through the Shapeways online offering, when I discovered the Class 28 body, tender and chassis produced by Sparkshot.
This started a new train of thought. If AJModels had produced a Class 27 3D printed body that fitted the Bachmann chassis, would a Class 28 body also fit?
Gavin Rose, the man behind Sparkshot, had not tried his body on the Class C chassis but it seemed like a reasonable punt, so I bought a body from Gavin. It is worth ordering these directly from Gavin as he can print these himself in resin, with some notable savings. The Class 28's were £38.89, but only £34.89 if I was willing to remove the support material myself and clean the insides with files and Isapropanol / 99% alcohol. There was also a decision to be made: a rebuilt Class 27 type 28 or a new build 652 type class 28? I opted for the former, as they were slightly longer lived than the 652s, although it did prompt a very enjoyable evening consulting the various tomes by Lane, Essery and Jenkinson and Rush!
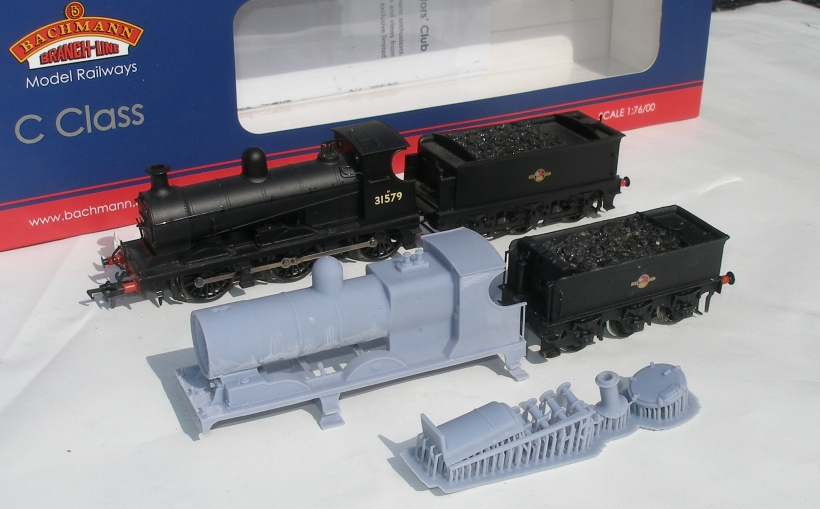
From ordering to delivery took just nine days, and I took some snaps to shop the various elements as supplied by Gavin, and the Class C and Craftsman tender.
So the total cost of the project to this point is £145.89, with only handrail knobs and wire still to source, plus a decoder. The Class C has a 21-pin socket in the tender, and a view will have to be taken as to whether to keep this arrangement or try and fit one in the loco.

This may be as far as this project goes for now, as I have three Class 23 0-6-0STs to sort out before I tackle this!
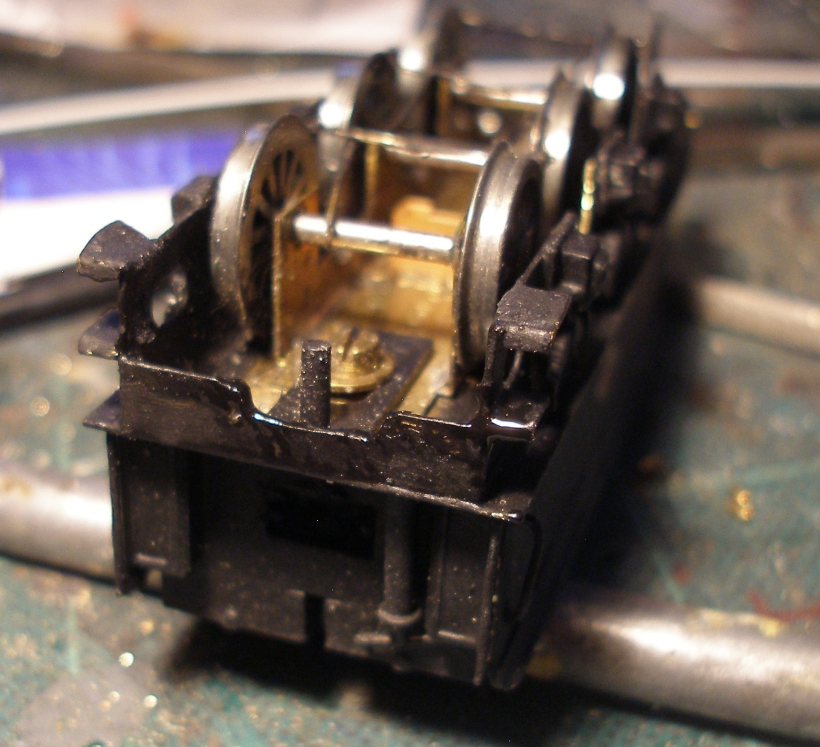
There is a delay waiting for the Bachmann Pannier to arrive, so I thought I would give the Class 28 project a look over. The first thing to do is to remove the chassis from the Bachmann Class C and offer it up to the body. Whch screws need to be removed is always a challenge, but consultation of the exploded diagram enclosed in the original box showed it to be the two outher screws on the underside of the keeper plate, as arrowed in the photo below.
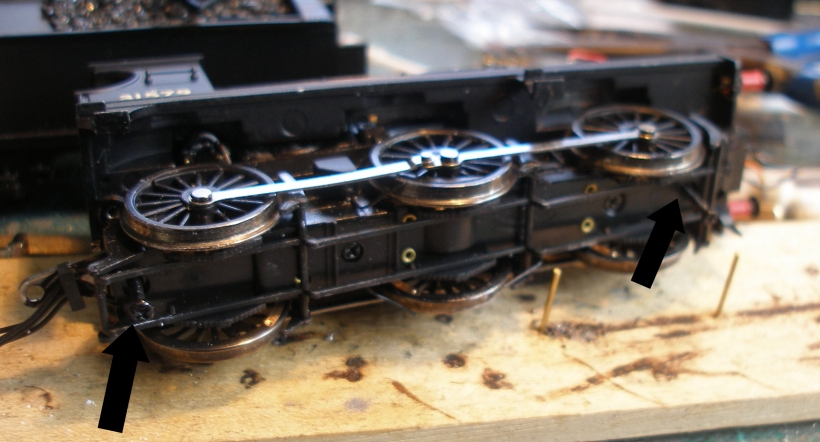
The chassis is quite a tight fit, and does need a gentle but steady pressure to separate the two.
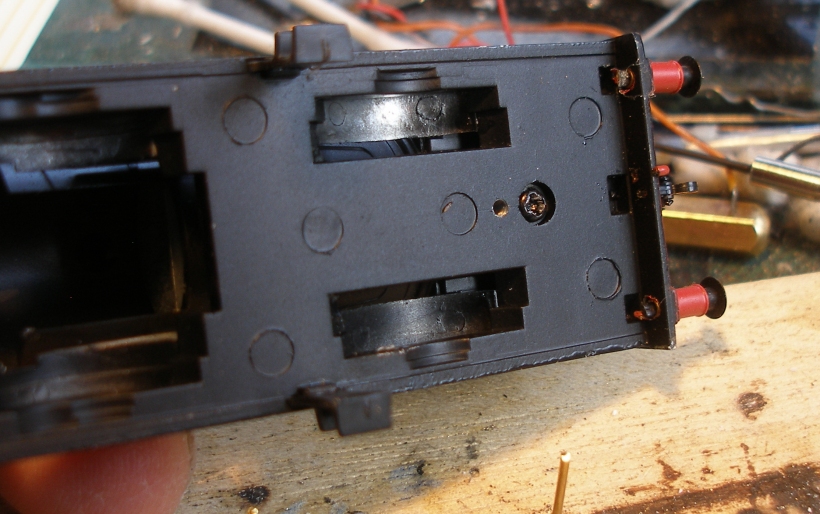
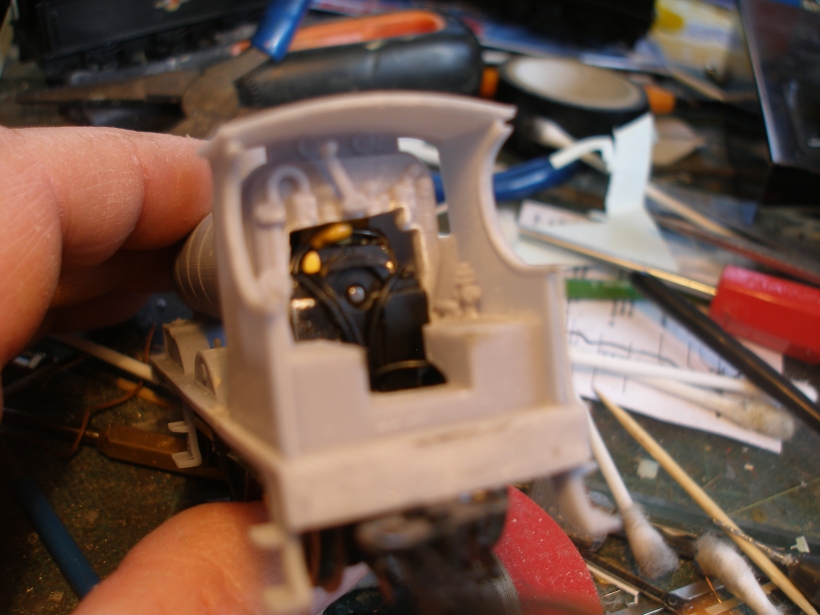
One of the 'tricks' learnt from the AJModels Class 27 project is to remove the weight from inside the smokebox. To get this out requires the cast metal footplate to be removed, and there are two screws holding the plastic boiler and smokebox on: I didn't realise this immediately so the photo below only shows the screw under the smokebox; the one under the footplate also needs to be removed!
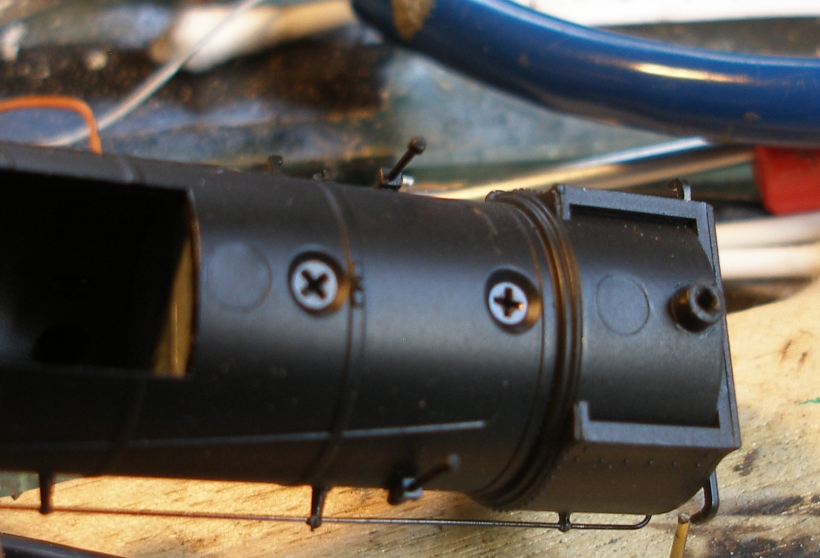
But we are not done yet! The weight is held in the smokebox by two more screws, and these also need to be undone.
The weight can now be slid out and trial fitted in the Class 28 bodyshell. As can seen from the photo below, the weight can only be positioned through the smokebox, and it wont fit if offered up through the opening under the boiler, so must be fitted before fixing the smokebox door in place.

And now we get to the point of no return with both the chassis and body.
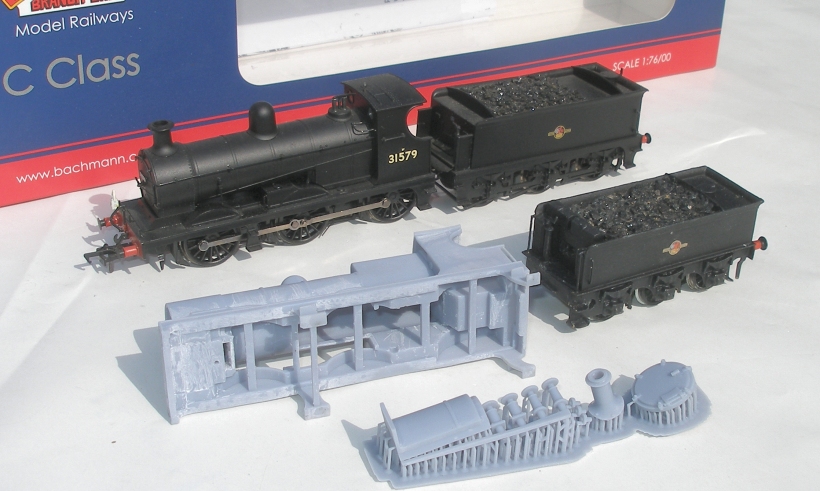
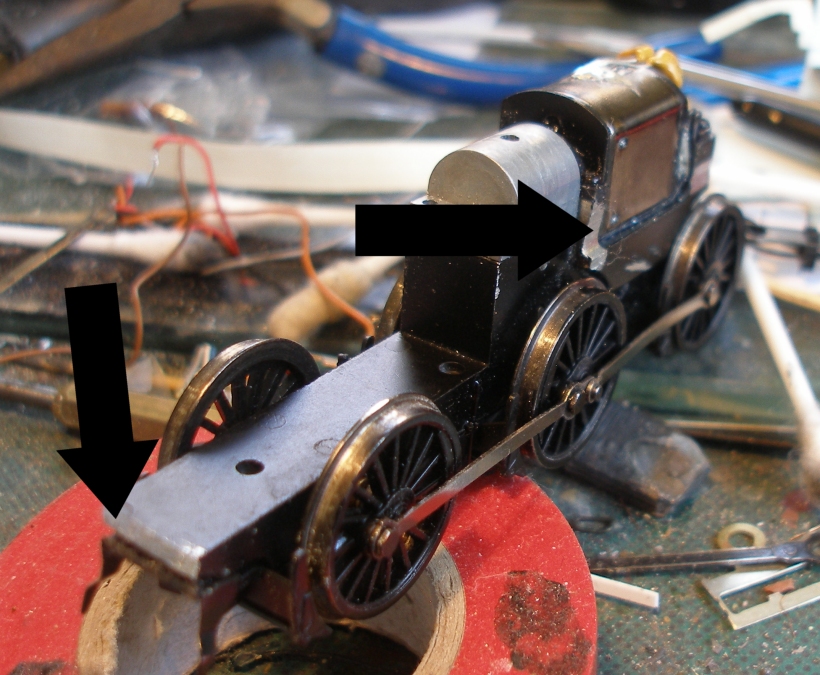
The chassis needs the front 3mm cutting off, so the section in front of the guard irons, and two wings that protrude just in front of the motor. The sandboxes also need removing. You should do the chassis modification first, as those 'wings' are the primary impediment.
The insides of the firebox need reducing, and I found the router tools in my Minicratf set useful for this, and also a bastard file was very effective. Unfortunately, for our purposes, the backhead is too far forward, and a large chunk of the lower section had to be removed.
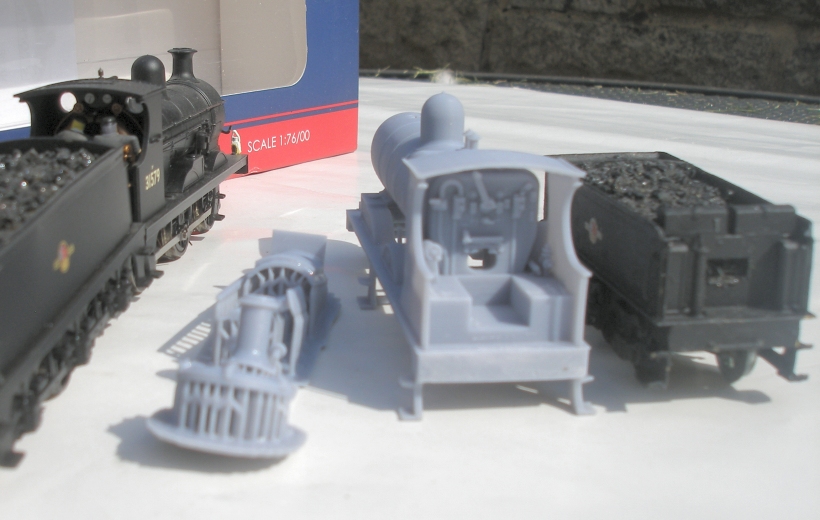
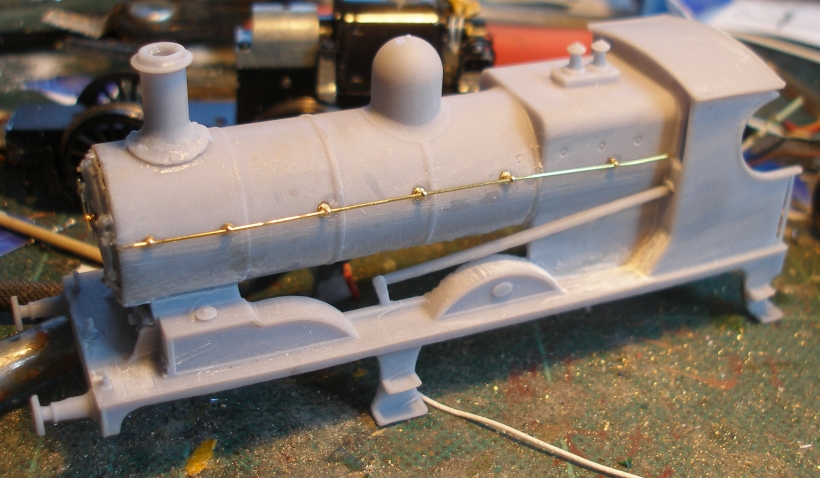
This is a key moment because now we can see what the final loco might look like.
The next job was to drill the handrail holes (there are small pop marks on the body shell) and fill the gap that has appeared between the firebox and footplate due to over zealous filing, with motor body filler.
This has been quite a speedy project, and the time to get this point is about 3 hours.
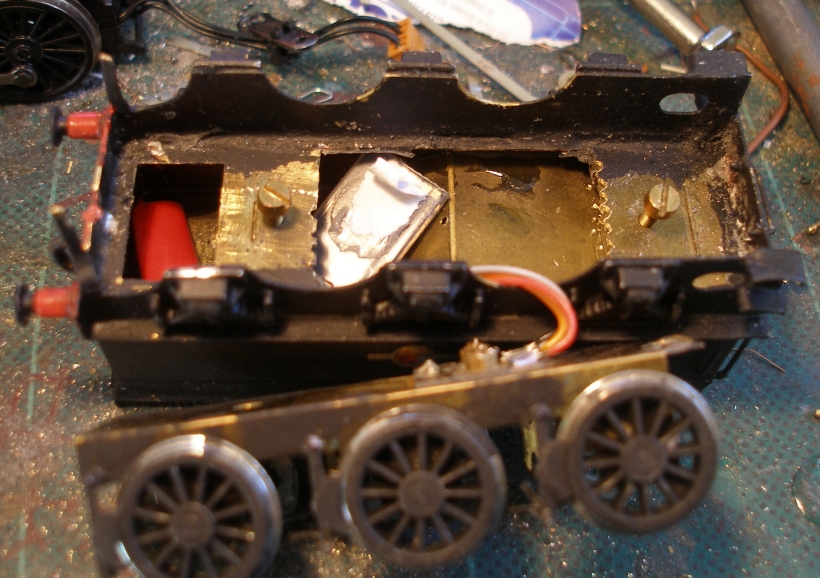
I attempted to use the Bachmann tender plug and socket in the AJModels Class 27 project and made a schoolboy error, in that, having cut a hole in the tender bottom, I glued the socket into position using Superglue. This was a bad move, as I had not appreciated how soft plastics react to Superglue, and insulation on the socket was destroyed. This time round I decided to bolt the socket to the tender. The Craftsman tender base has two elements: a sub-chassis into which the wheels are fitted, and this in turn screws onto the bottom of the tender tank. There is a large square hole cut out into the tender tank base through which the DCC decoder can be inserted, and is therefore neatly concealed under the coal bunker.
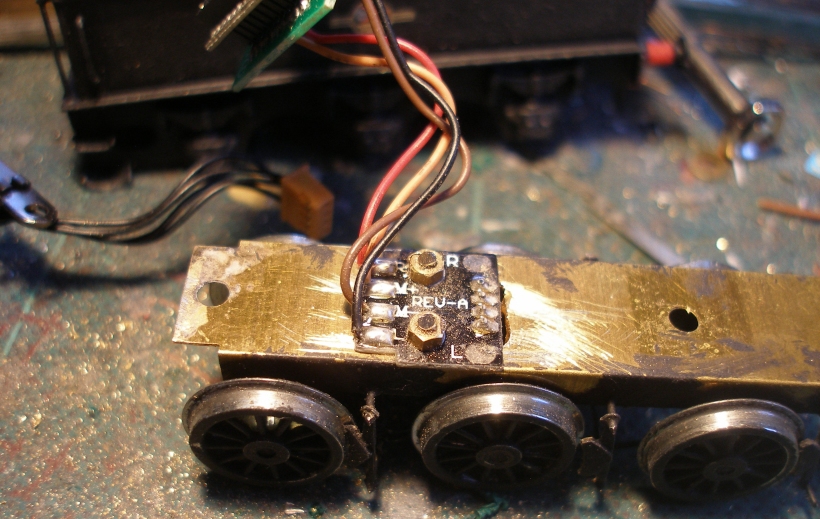
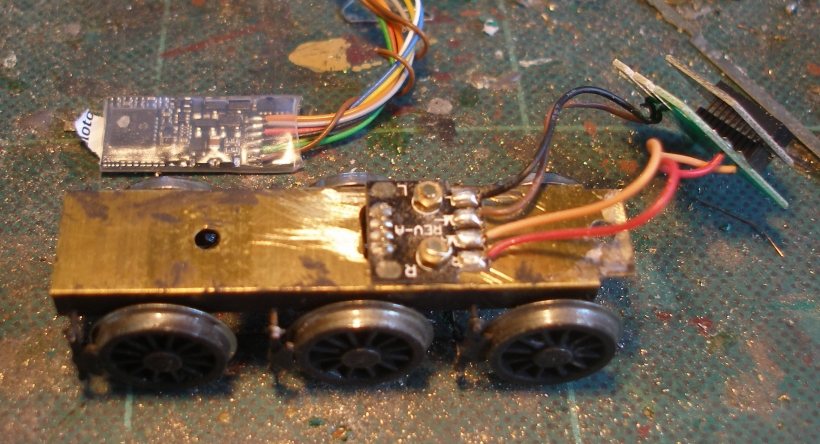
I had bought my tender, ready made off eBay. The builder had kindly inserted a piece of metal as a weight in the cut out, and it proved a right devil to remove without damaging the tender in the process. The following shots show how the tender socket was affixed to the tender chassis. The 21-pin socket is still attached, and it is my intention to hard wire a Zimo decoder to this socket. The wires are black, brown, orange and red, but I have now tested these with the blanking plate removed, and established that the red and black wires are indeed from the track. The beauty of this conversion is that the electrics on the loco are not touched at all, and with the decoder in the tender, there is potentially more room within the body cavity to squeeze in some lead. I am also hoping to be able to use the original loco/tender coupling, but that will have to wait till tomorrow now.

The next move was the handrails. I used the London Road Models until I ran out! I therefore carried on with a pack of Alan Gibson medium ones for the actual boiler. The problem was that these come with a pronounced shoulder. So I affixed all the handrail knobs in place, and then levered out the three Gibson ones on the driver's side, and widened the holes so that the shoulder then sat flush with the boiler cladding.
So leaving the body for the glue to set, it was time to add the decoder to the tender.
The DCC 8-pin plug was cut off, but I allowed sufficient length of wire so that the decoder could be inserted into the tender body before the sub-frame was offered up and the screws replaced. Note how the wires not required have been taped up, and also inserted into the water space.
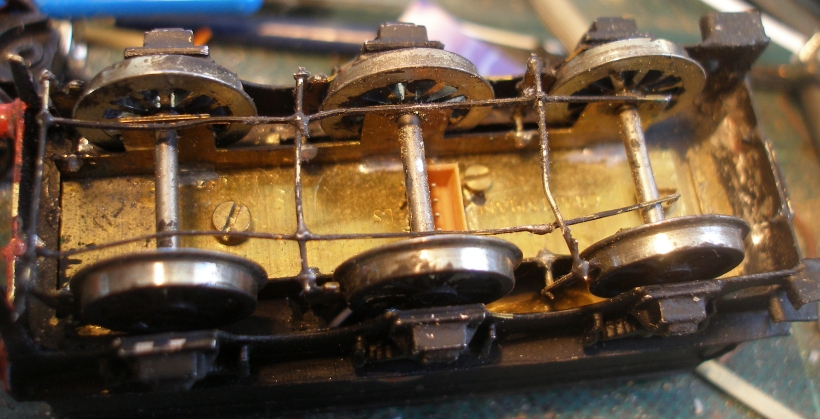
And finally, the finished tender underframe. I am hoping that the original Bachmann tender coupling spigot and plate will fit at the front of the tender to complete the upgrade.
And indeed, the a 1.5mm drill bit was used to drill the holes through the original body screw holes,and when inserted, they self tapped. A couple of pieces of Plasticard were glued to the underside of the footplate, and then a small piece to match the cutout in the loco chassis, and then the body and tender coupling were reassembled just they were on the original loco.

Finally, a section was be filed away from the front of the tender to allow the coupling link to easily engage with the tender coupling spigot.
The remaining jobs are front and rear screw couplings; numbers; crew, lamps and fireirons, and possibly a replacement backhead for a Belpair boiler.
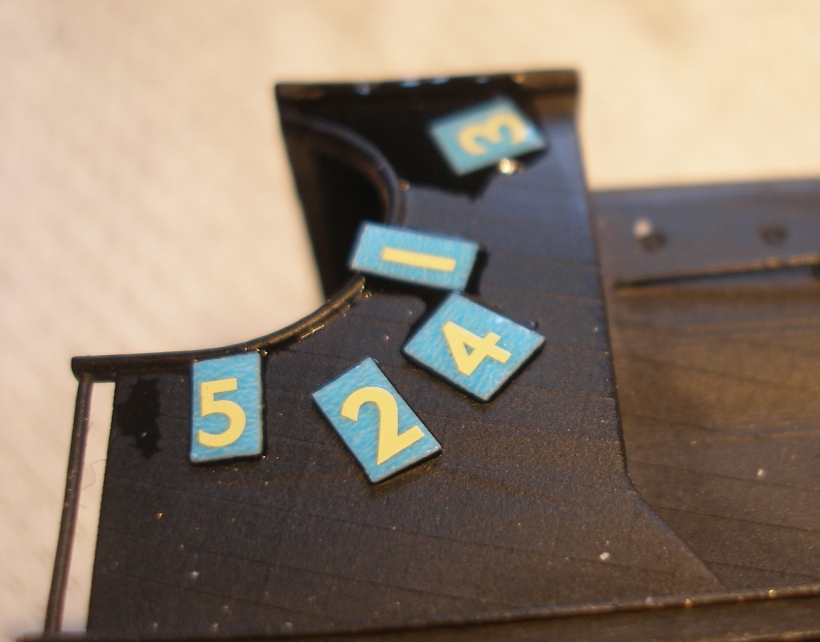
I use Fox transfers, as they have a minimal carrier film and are remarkably resilient to rough handling, particularly the lining. Other pluses are that their mail order is excellent, with very speedy delivery, and they also replace in the event that you get a duff sheet. The first image shows how I have cut out the individual numbers and paced them on the cab side, before adding a couple of drops of water. I live in a heavy lime scale area and one useful tip is to use the de-ionised water as sold for use in steam kettles. When this dries, it does leave a ring mark.
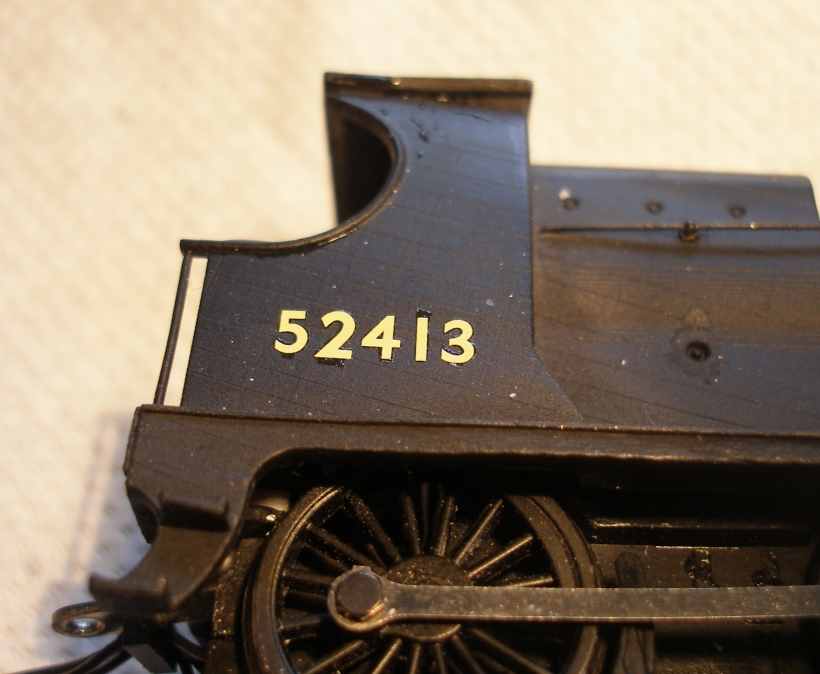
And now the transfers have been teased off the backing paper and lined up in the centre of the cab side.
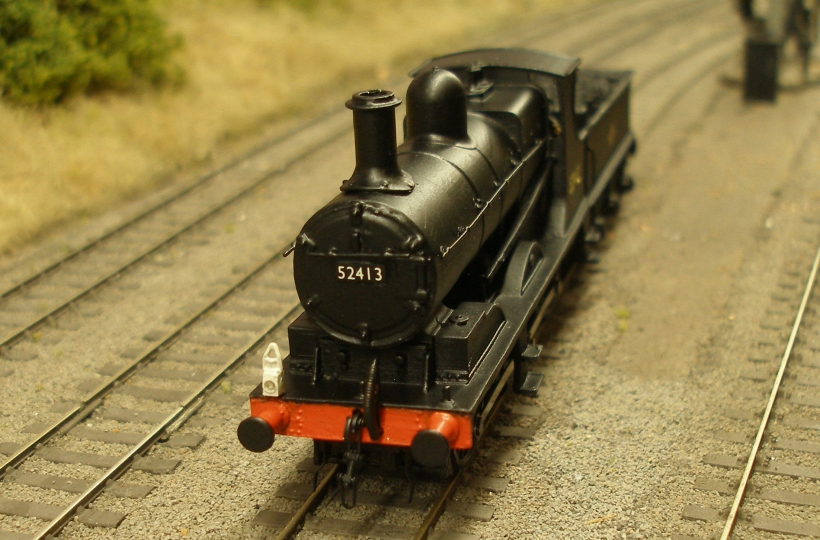
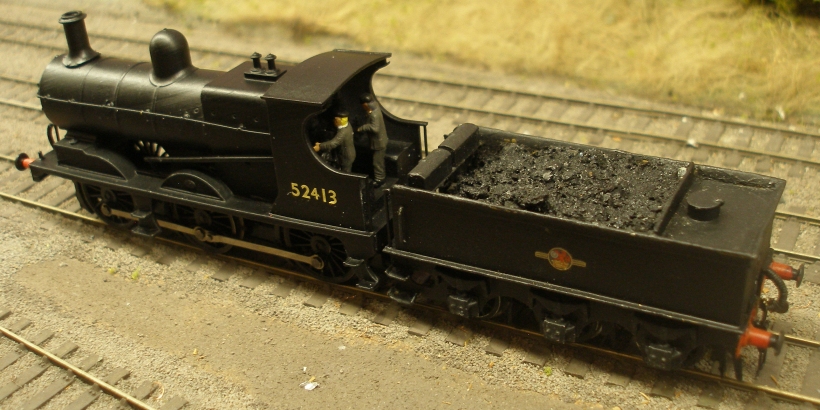
Final items added this morning are the front shackle teased off the Bachmann Class C, the front vacuum pipe, a lamp, and a crew of two: who have transferred from the Bachmann Class C! They are performing a particularly key task here, as they are concealing the lack of the bottom half of the back head. In the real world they would not able to do this, but for now it allows the loco to enter service. I am minded to try the 247Developments cast Belpair firebox backheads, with the Dean Goods and LMS Midland types being considered. I am going to leave the loco for 24 hours so as to let the coat of Railmatch Satin Varnish set fully, before tacking the '3' driver's side which seems to be curling up at the bottom edge. I also think the cab is riding slightly too high (the cab footplate should be level with the tender plating) and this is down to the amount of Plasticard I added under the footplate, so I need to remove a piece.
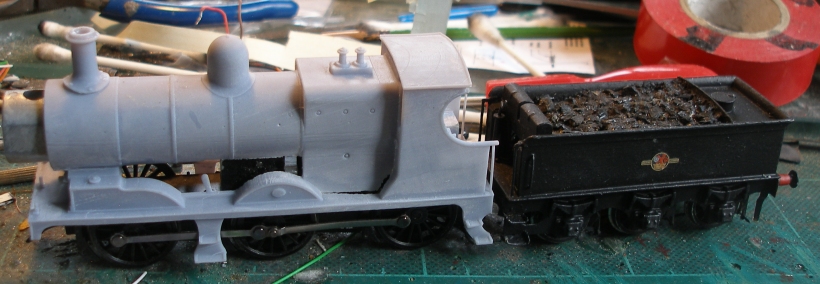
And how she compares to the Craftsman Class 27...

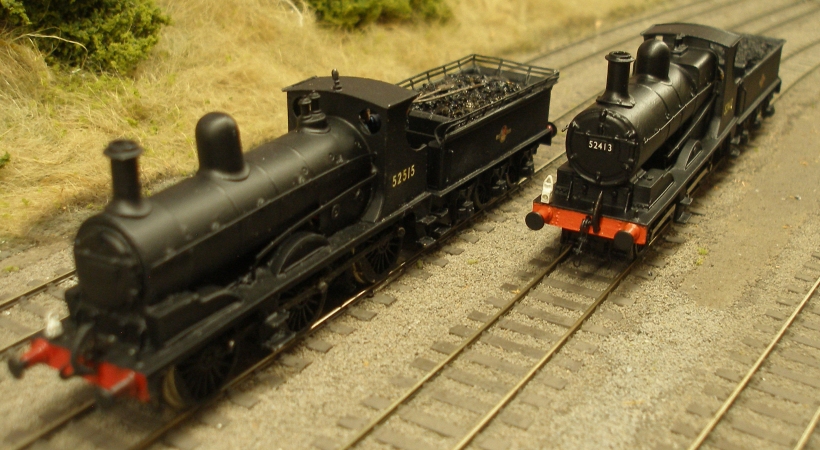
Final thoughts...
Gavin Rose had made excellent job of this, and I think his resin-printed model is stronger and more robust than the Shapeways filament-printed plastc for the AJModels Class 27. It seemed both smoother and less brittle; all the foot steps remain as supplied this time.
The only issue is possibly the fit of the smokebox door within the smokebox wrapper. I also query whether the wrapper was ever so slightly oval. I had to file both the inside of the wrapper and the back of the door to get a reasonable fit, and used JB Weld for its filler properties. One small consequence of this is that I did not check whether the weight was located correctly within the smolebox, and discovered it had slid down the boiler barrel whilst the KB Weld was setting...but hadn't set enough to stop me pushing it back into place. Had I not spotted this, I would have had to scrap the body and start again, as the JB Weld does set exceptionally hard.
I would like to add some extra weight but this will have to wait another day, and some trial running.
She's a cracker, and fills another gap in my Lanky roster. Now I just need a set of fire-irons to finish her off.
28 April 2021

Copyright J K Wallace, t/a 'Hall Royd Junction' 2013-2023 email: Hall Royd Junction
7 Portobello Close, Chesham, Bucks. HP5 2PL, UK
tel: +44 (0)7513 412880