
Bradley Wood Junction
Bradley Wood Junction was situated in the lower Calder Valley on the four track section through to Thornhill. It controlled access to a double track chord that allowed trains to join the LNWR lines to Manchester via Huddersfield, and allowed the L&Y's Bradford - London expresses to access Penistone and the Great Central line south to London Marylebone. It also featured a set of cross-overs allowing trains from the chord to Huddersfield line to cross from the fast to slow lines. This cross-over was a crucial feature as it allowed the expresses from London and bound for Halifax to cross to the slow lines and so be placed to take the right hand junction at Anchor Pit onto the Pickle Bridge line. O. S. Nock records that in 1922-3, the 15:20 p.m. down Marylebone had a basic formation of five elliptical coaches, including a buffet restaurant car, for Manchester, and a through carriage for Halifax, detached at Penistone.
In Tom Wray's L&YR chronology the first reference to Bradley Wood is dated August 1840: "With the assistance of Messrs Treadwell and other contractors an experimental trip was made on Saturday, 1st August 1840 from Hebden Bridge to Bradley Wood, sixteen miles, in a train of ten carriages drawn by eight horses decorated with evergreens and rosettes. About one hundred passengers, including two bands, left at 1.00 pm stopping en route to pick up more until at Brighouse, there were more than three hundred on the train. At Brighouse they sat down to a splendid cold meal laid out on two very long tables in the open, followed by the usual toasts. (Manchester Guardian, 5 August 1840)
In these modern times it is difficult to appreciate what it was like to operate a railway without the telegraph for train regulation or continuous brakes. In October 1870 consideration was being given to improving time interval working on the eastern main line: […] trains follow each other (past Brighouse station) so quickly that the ordinary regulations, prescribing time-intervals, with five minutes of danger, and five minutes of caution, cannot be applied; it has been found necessary to issue in the printed notice of “working alterations” the following;
Signalmen at Bradley Wood Junction, Brighouse, Elland, and North Dean stations. They will observe that the passenger trains between Bradley Wood Junction and North Dean station are timed to run at intervals of 2, 3, 4, and 5 minutes; they are therefore requested to stop with the signals any second train which may arrive within five minutes, and inform the engine driver what has gone before, and that he is to proceed with caution. (see rule 43, pages 16 and 17). The above special instructions to signalmen only apply to passenger trains which run in connection at the next station; all other trains must stop the five minutes according to rule 39, pages 15 and 16. The timing of trains to follow each other within “intervals of 2, 3, 4, and 5 minutes”, combined with the instruction to signalmen to caution such trains when following one another within five minutes, would not be a very safe system of working a heavy traffic of mixed passenger and goods trains upon any line…the inefficient system described in the printed notice above quoted, which the officers of the company have been compelled to adopt, in order to allow the traffic of the railway to be carried on, for want of more suitable arrangements on this and other parts of the line, should now give place to a general block telegraph system […] (Accident report, 21 October 1870)
The next box east of Bradley Wood was Heaton Lodge. This was a complex junction, where the four-track L&NW Standedge route joined the four-track L&YR main line, as well as facilitating access to the LNWR's new line to Farnley Junction via an underpass. Tom Wray's chronology notes that the L&YR invited tenders for widening the railway between Brighouse (Anchor Pit) and Heaton Lodge Junction; and for widening the railway between Mirfield (Dewsbury LNWR Junction) and Horbury, which was recorded in the Manchester Guardian of 30 June 1900. The L&Y Board were told that the Board of Trade had sanctioned the use of the widening between Bradley Wood and Heaton Lodge, in a meeting on 12 January 1904.
Heaton Lodge's other claim to fame was that it fringed the LM&SR's bold experiment using US-style speed signalling based around Mirfield. The idea behind this was not so much to tell the driver which way he might be directed at the next junction (and so rely on the driver's route knowledge to take the junction at an appropriate speed), but rather to indicate an appropriate speed. To eyes used to the conventional 4-aspect system this system appears initially complex, with the signals not only displaying various red, yellows and greens, but also a red marker light when the next signal would also be of the 'speed' type.
Remarkably, it was possible to rework the frames such that the conventional levers remained in place, and above the signal levers was a miniature repeater showing the signalman the aspect being displayed to the driver. Its use at Mirfield meant that drivers on two separate cross-Pennine routes had to be trained, and given the experimental nature of the installation, it might have been better to find a location where a smaller pool of drivers were involved. It is fair to say that the system worked as advertised, but the benefits were not considered to be great enough to justify further installations, and eventually the system was replaced with conventional 4-aspect colour lights.
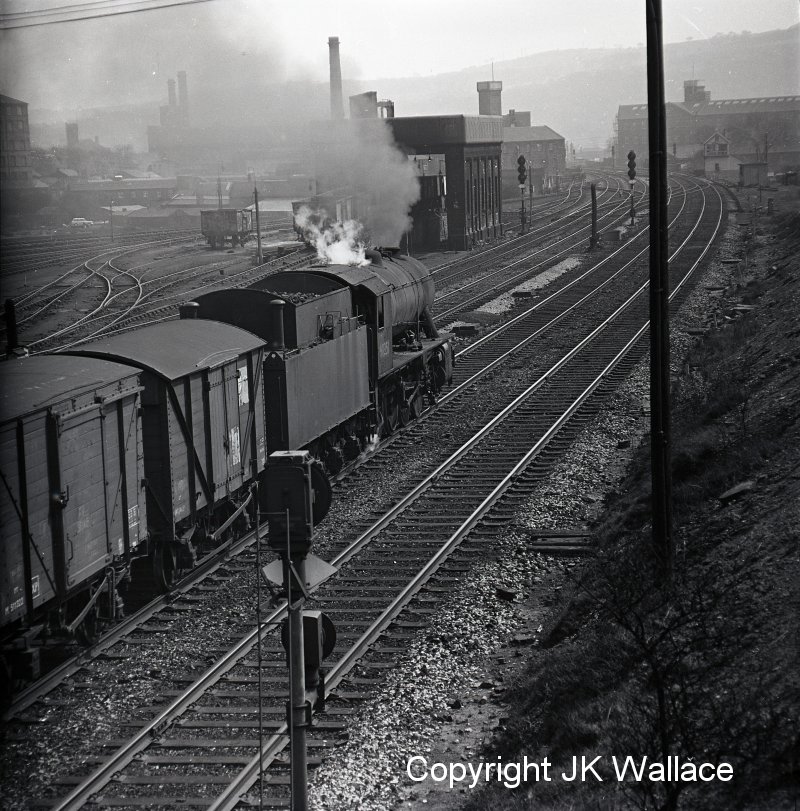
The photo below shows the start of the speed signalling section, with the first signals encountered in the down direction visible in this photo, whilst the conventional route-specific semaphore signalling and the box are visible in the background. The two signal posts are visible to the right of the sixth wagon, which appears to be sheeted.
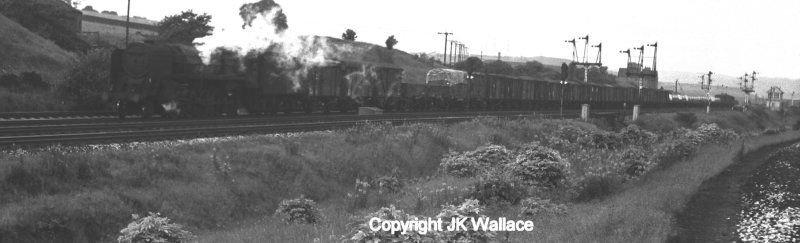
Photographer Alan Chandler; copyright J K Wallace
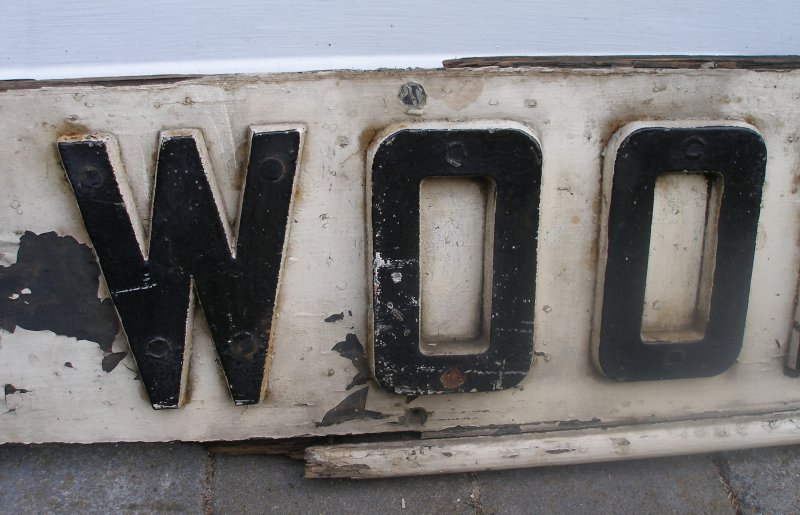
Thanks to a family member, one of the boards from the box has now been secured. It can be easily identified as the board from the Manchester (steps) end of the box, as the last foot was in thin air, and the reverse of the boar shows this area painted cream.
Bradley Wood Junction and Brighouse signal boxes were abolished on Sunday, 31 May 1970, and full details of the amendments can be found here on the Signalling Record Society Website. Both boards from Bradley Wood and one of the Brighouse boards is known to have survived.
However this simplification of the chord did not save it from closure, and Bradley Wood junction to Bradley junction was first closed in 1987, along with the connection from Greetland up to Dryclough Junction on the Halifax line. Fortunately these lines, together with Brighouse station, were re-opened, with the new station seeing its first train on Sunday 28 May 2000. Bradley Wood to Bradley was re-opened on 3 April 2000.
The surviving boards are of LMS vintage, rather than the original L&Y board, which would have been displayed on the front of the box.


It is also apparent that the upper beading and top of the actual board are charred, suggesting that they lay close to the demolition bonfire.
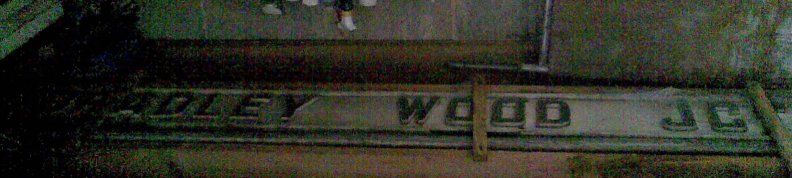
The board at the other end of the box had black beading, and has passed to a new owner. The image below shows the Leeds-end as seen in the rafters of a garage in Clifton.
The boards were affixed to the box with 4 pairs of screws, countersunk, with the holes filled with putty or wood filler.
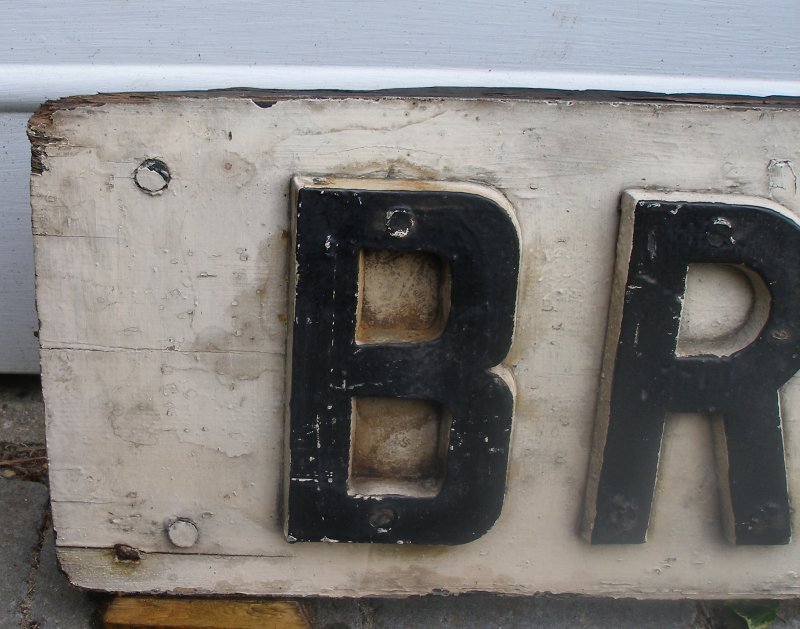
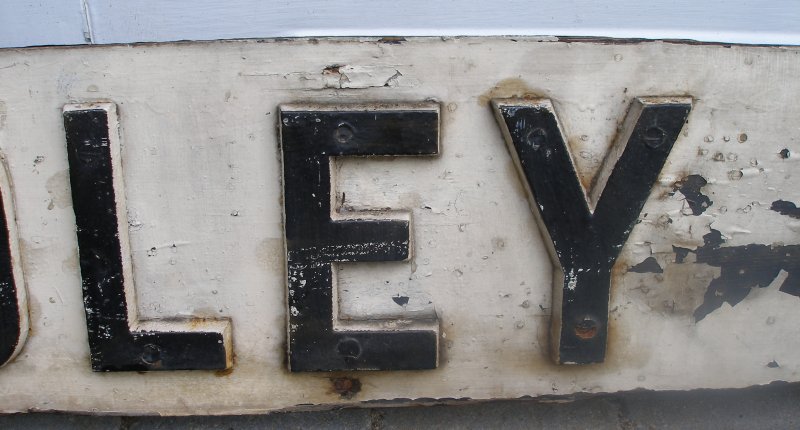
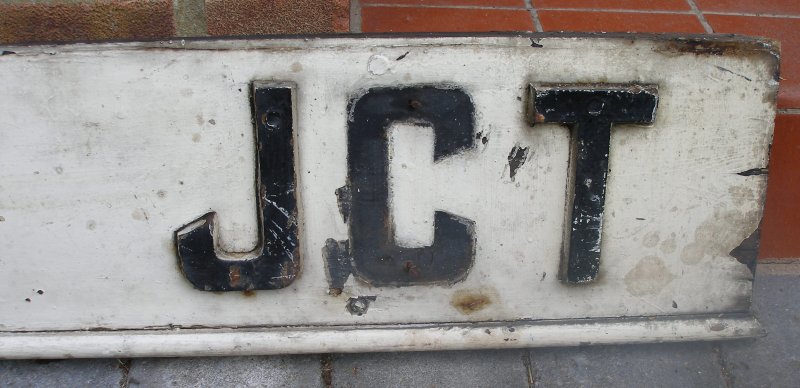
The letter C is missing, so it is possible to see the 'natural' board underneath. It would seem the letters were affixed to an unpainted board.
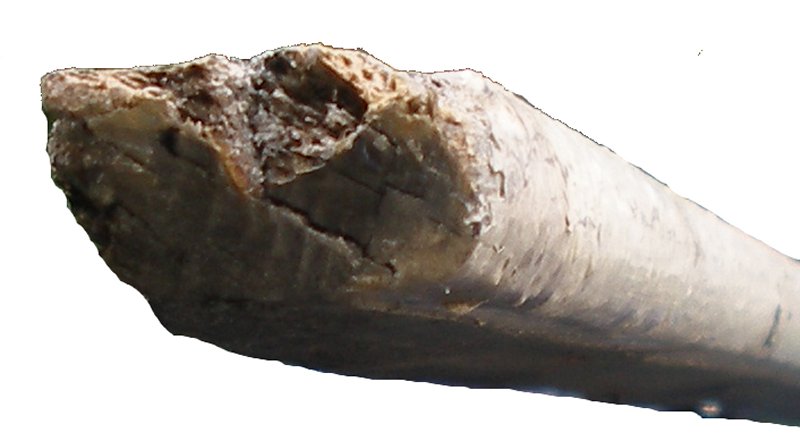
Finally, the new beading will required to replace what's missing, and here an image showing the profile: rather like the lip of a stair tread.
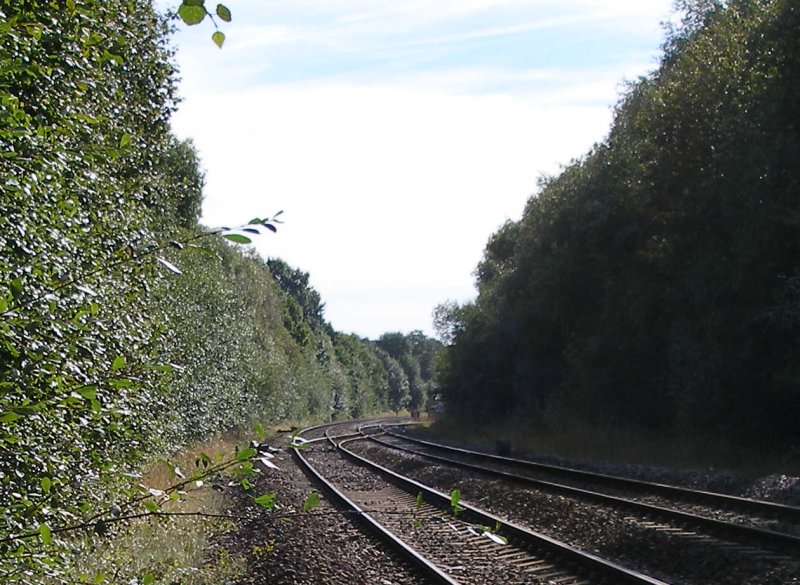
The site of the modern Bradley Wood Junction is now complete surrounded by dense woodland. The image below shows the site of the junction as seen from the Hebber and Calder canal.
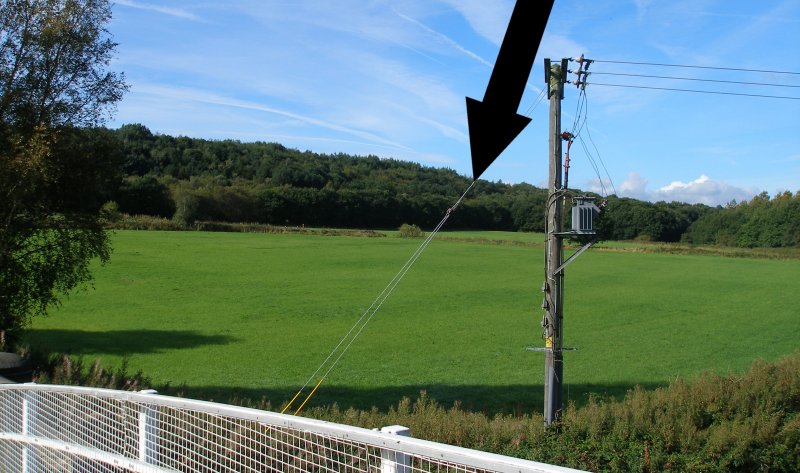
Predictably the junction is now is a green corridor, which on 11 September 2016 was fast encroaching on the four foot. In the image below the single line to Bradley Junction can be seen swinging away to the right. The road is set for a train to proceed from Brighouse to Huddersfield. The signal box was located some distance to the left of the actual junction, and the actual site is now lost in a mature thicket which has grown up at this location. The c. 1900 OS mapping suggests there were three sidings here which came down to single track that passed the box before trailing into the down slow line. This explains the apparent distance of the box from the track in later era photos.
The road is set for the 2W67 09.25 Leeds to Huddersfield, which according to RealTime Trains, runs Sunday's Only between 15/05/2016 to 11/09/2016. It is booked for a 14x Pacer.
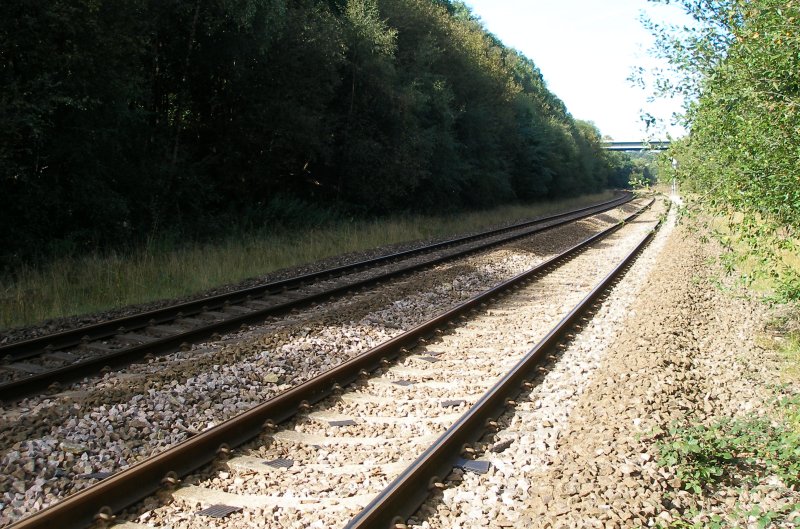
The view the other way shows the signal controlling access to the junction - it can be seen to the right of the track, partially obscured by the encroaching foliage. The M62 viaduct can be seen in the distance.
Further 'up' the line was Anchor Pit Junction. The start of the junction was marked by the Anchop Pit Bridge (Clairroyds) occupation underline bridge - Network Rail Bridge ID 179 - which is shown in the following images.
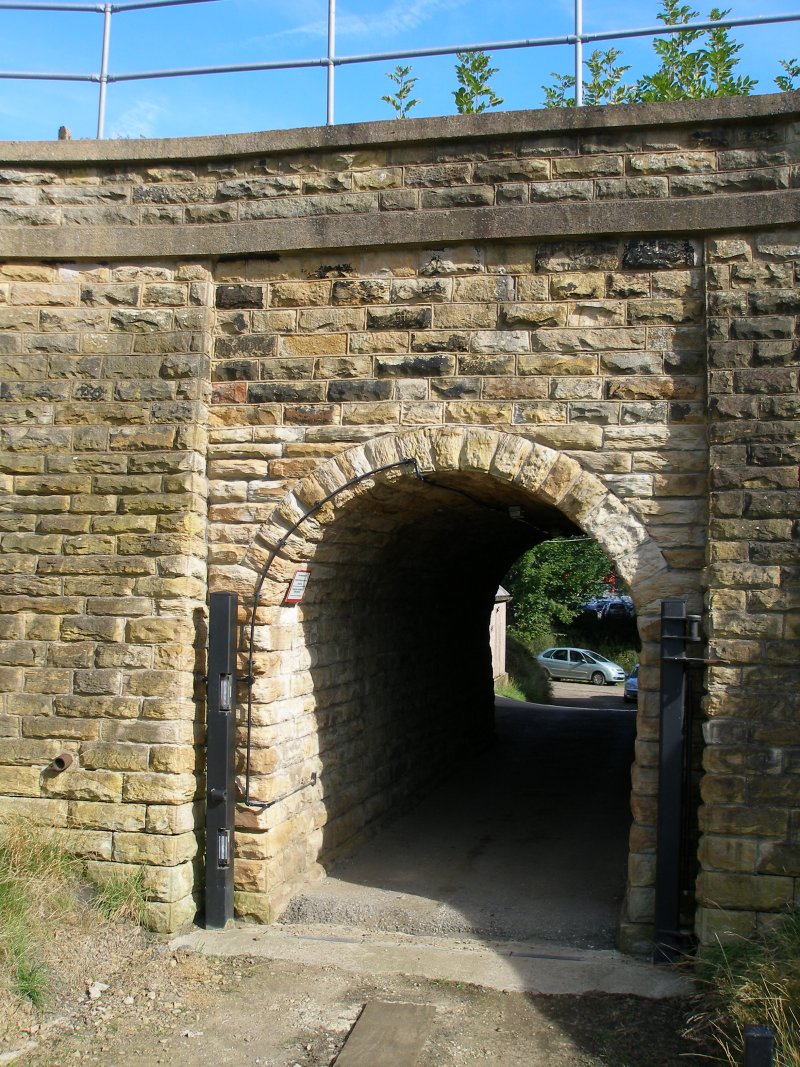
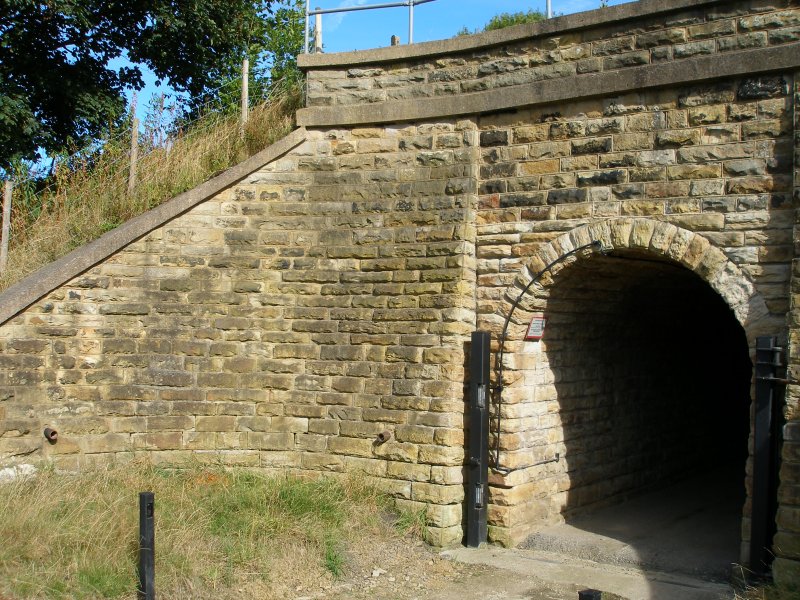
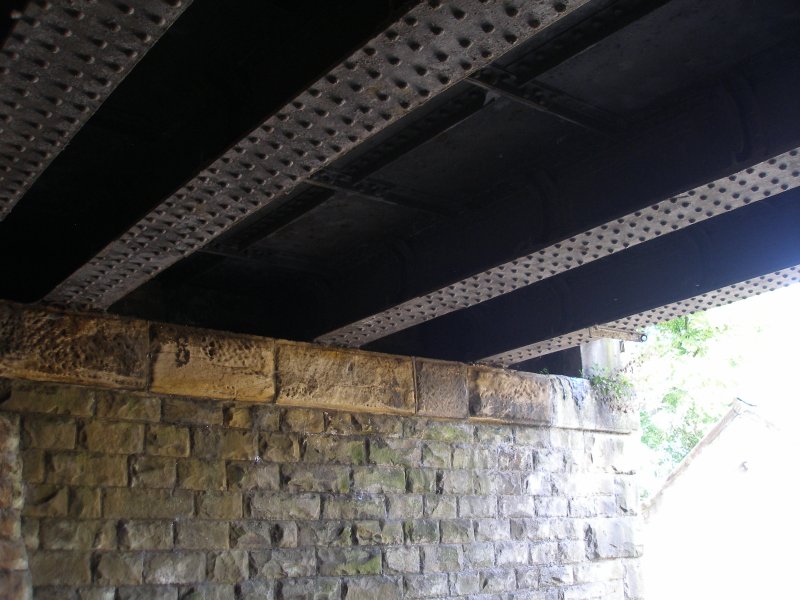
The image below shows the original stone arch on which the fast lines were laid and then the later metal girders which carried the slow lines.
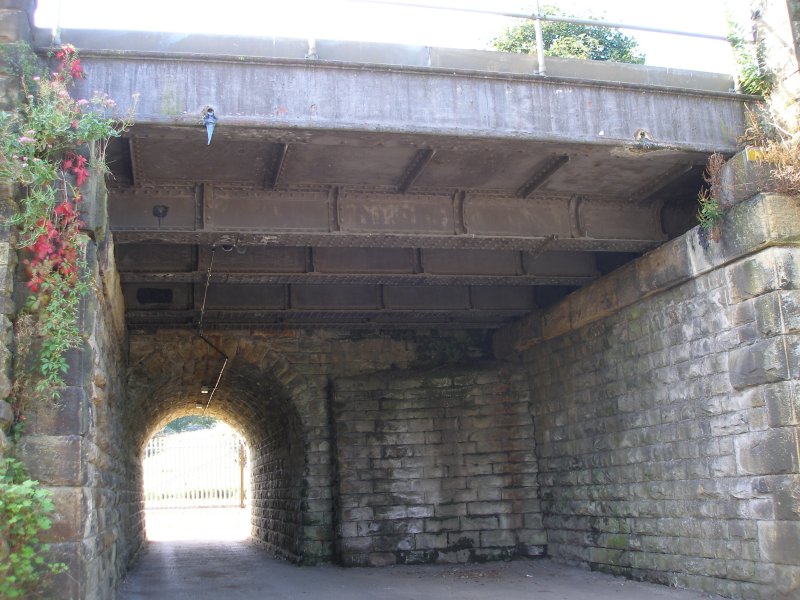
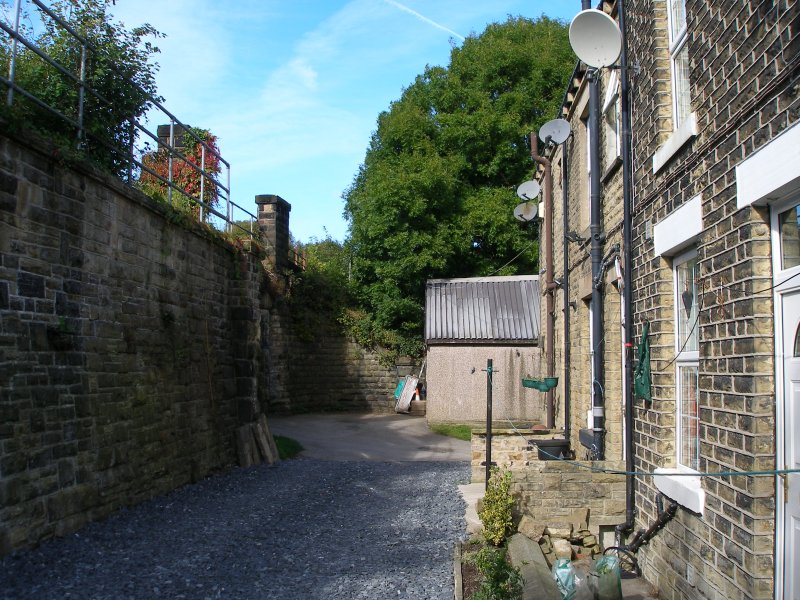
Finally a view showing the houses fronting onto the railway at this point, and the site of the 7 December 1904 train crash. There is a postcard entitled 'Railway Crash, Anchor Pit, Brighouse' which was taken on or around 7 December 1904 which shows the result of a crash at this location. A Salford - Hull freight train ran into the back of a freight train from Halifax which had arrived via Pickle Bridge, and was standing on the Down Slow waiting to back into Brighouse exchange sidings.The original postcard shows a 'signal bridge' spanning all four tracks. The right hand post is located approximately where the tree meets the embankment. The gantry applies to trains in the down direction i.e. heading to Leeds and having recently departed from Brighouse. It features two pairs of dolls, one set for the slow lines and the other for the fast lines. There was a cross-over here, and the right hand doll of both pairs is the higher one, and also features a distant arm worked by Bradley Wood Junction. The left hand doll is shorter, and features a single home signal, and controlled trains travelling towards Heaton Lodge Junction. Lying in the roadway, approximately where the modern day garage is, is an inverted L&YR 'tintab' brake van, less its running gear. Standing on the bridge, facing Bradley Wood on the down slow is an 0-6-0 tender loco, the train loco of the Hull express freight. Across the slope of the embankment are the remains of two wagons. The bridge parapet consists of three cast iron panels, of which two have been smashed. Full details of the accident can be found here.
And here is a shot at track level showing Stanier Jubilee 45581 'Bihar and Orissa' and Black 5 45428 approaching Anchor Pit from Bradley Wood with the evening Red Bank empty newspaper vans on 8 September 1963. Note the single distant arm on the gantry in the background which related to the chord from Bradley Wood to Bradley on the Huddersfield line.
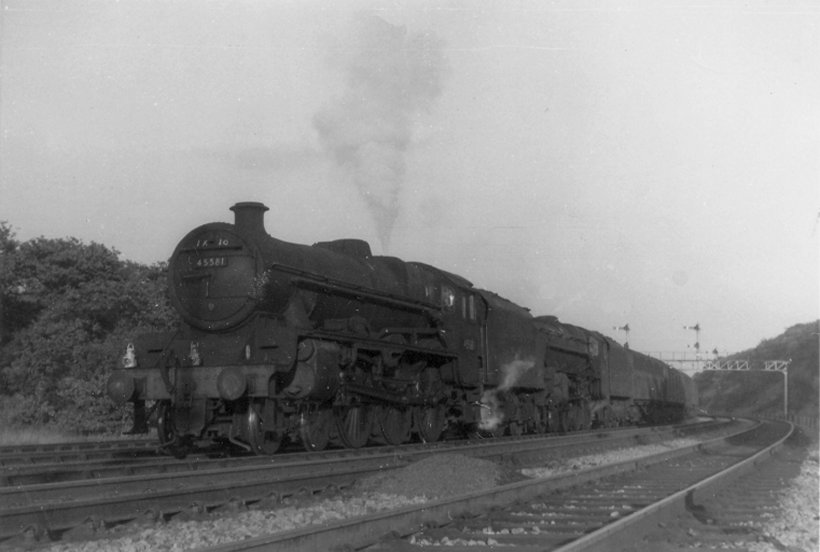
J. K Wallace collection. Photographer Arthur R Wilson
Finally, one of Eric Bentley's excellent shots illustrates the LMS speed signalling at Mirfield.
Photograph Eric Bentley, copyright JK Wallace
WD Austerity 90351 of 56D Mirfield passing Mirfield Motive Power Depot on eastbound freight Saturday 30 April 1966.

Copyright J K Wallace, t/a 'Hall Royd Junction' 2013-2023 email: Hall Royd Junction
7 Portobello Close, Chesham, Bucks. HP5 2PL, UK
tel: +44 (0)7513 412880